Monday, 24 March 2014

Chocolate Banana Streusel Muffins


I always seem to have some overripe bananas hanging around as I'm not a fan of them when they start to go brown on the outside. This means I'm always on the lookout for recipes that will use them up. I spotted this recipe on Pinterest a couple of months ago and decided to give it a go as I had all the ingredients already. Chocolate and banana is a combination that can't go wrong and if you add an oaty topping you can almost believe they're good for you! I think these would be great for brunch but they will work just as well at any other time of the day with a cup of tea or coffee.

This recipe will make 8 muffins. As it is an American recipe the measurements are in cups. With hindsight after tasting these today I think you could probably up the amount of banana as when I tried one the banana isn't that strong so if you like a stronger banana flavour maybe try adding two bananas.

Ingredients:


Streusel topping:
2 tablespoons granulated sugar
1 1/2 tablespoons plain flour
2 tablespoons unsalted butter (approx. 30g - cold)
2 tablespoons oats

Muffins:
3/4 cup plain flour
1/4 cup granulated sugar
1 teaspoon baking powder
1/4 teaspoon salt
6 tablespoons mashed banana (approx. 1-1 1/2 bananas)
1/4 cup milk
1/2 cup chocolate chips
1 egg yolk
1 teaspoon vanilla extract
1/4 cup chocolate spread (I used Nutella)

Method:
1) Preheat the oven to 180C/350F and line a muffin pan with 8 paper cases.
2) In a small bowl combine the streusel topping ingredients until it makes small lumps. Set aside.


3) In a large bowl combine the dry muffin ingredients (flour, sugar, salt and baking powder). Then add the mashed banana, milk, chocolate spread, vanilla extract and egg yolk. Stir well with a wire whisk until the ingredients are combined. Finally stir in the chocolate chips.


 4) Fill each paper case approximately 3/4 full with the muffin mixture. Then sprinkle the streusel topping over.


5) Bake in the oven for 25-30 minutes until the muffins have risen and a springy to touch. Allow them to cook for 5 minutes in the pan before transferring to a wire rack to cool completely.


6) Enjoy! 


Sunday, 23 March 2014

Cadbury's Creme Egg Brownies - Take Two


When I first made these Cadbury's Creme Egg brownies last year they were a BIG hit in the staffroom at school and with Mr Birdie. When I promised I would bake recently they were top of the request list! It is very rare that I make the same recipe again and again as I like to try out new recipes (the exception being my banoffee pie which is one of the few things I return to) so I didn't want to use the same recipe that I used before. After a bit of research I decided on this Eric Lanlard recipe which has been doing the rounds on Twitter and Facebook. It's not too dissimilar to the recipe I used before.

This recipe will make 10 brownies using a rectangular tin (a square one will work as well - just reduce the number of Creme Eggs).

Ingredients:


150g unsalted butter (cut into small cubes)
200g dark chocolate (chopped)
100ml strong espresso coffee (I used a couple of teaspoons of instant)
250g golden caster sugar
1 sachet vanilla paste (I used a teaspoon of vanilla extract)
3 medium eggs
100g plain flour
5 Cadbury's Creme Eggs (halved)

Method:
1) Preheat your oven to 180C. Grease and line a brownie tin with butter and baking paper.
2) Melt the chocolate and butter in a glass bowl over a pan of simmering water (making sure the bowl and water don't touch). Once melted remove the bowl from the pan.


3) Stir in the sugar, vanilla and coffee (the mixture will be quite runny at this point). Beat the eggs with a fork and stir them into the mixture.


4) Once the mixture is smooth sieve the flour into the bowl and then fold in.


5) Pour the mixture into the prepared tin and bake for 15 minutes.


6) While the mixture is baking halve your Creme Eggs (this is tricky - Mr Birdie did this when I made them before but I was brave and did them myself this time. I found using a sawing motion with a serrated knife worked well).


6) After 15 minutes, remove the mixture from the oven and push in the Creme Egg halves. Put back in the oven for another 10 minutes until the mixture is set but is slightly sticky.


7) Leave to cool completely before slicing.


8) Enjoy! (With a drink of your choice...)

Sunday, 16 March 2014

Vintage Chocolate Chip Cookies


I'm not sure what exactly makes these 'vintage'? According to the BBC Good Food website this is a 'retro' recipe (whatever that means!) Maybe they're meant to take you back to your childhood when enjoyed with a glass of milk? Anyway, they are yummy and definitely hit the the chocolately, sugary spot.  It has been a busy week at work (with another busy one coming up) so I decided I need to bake something to say thank you to my colleagues for their enthusiasm towards the maths week I organised but to also keep us going through the forthcoming busy days. I had said I would make Cadbury's Creme Egg brownies but with the sunshine today I felt something lighter was in order so decided to make this BBC Good Food recipe.

The bonus of this recipe is that it only needs one bowl and can be rustled up pretty quickly. The recipe makes approximately 20 soft and yummy cookies (depending on size).

Ingredients:


150g salted butter (softened)
80g light brown muscovado sugar
80g granulated sugar
2 teaspoons vanilla extract
1 large egg
225g plain flour
1/2 teaspoon bicarbonate of soda
1/4 teaspoon salt
200g plain chocolate chips or chunks

Method:
1) Preheat your oven to 190C/170C Fan/Gas 5. Line two baking trays with non-stick baking paper.
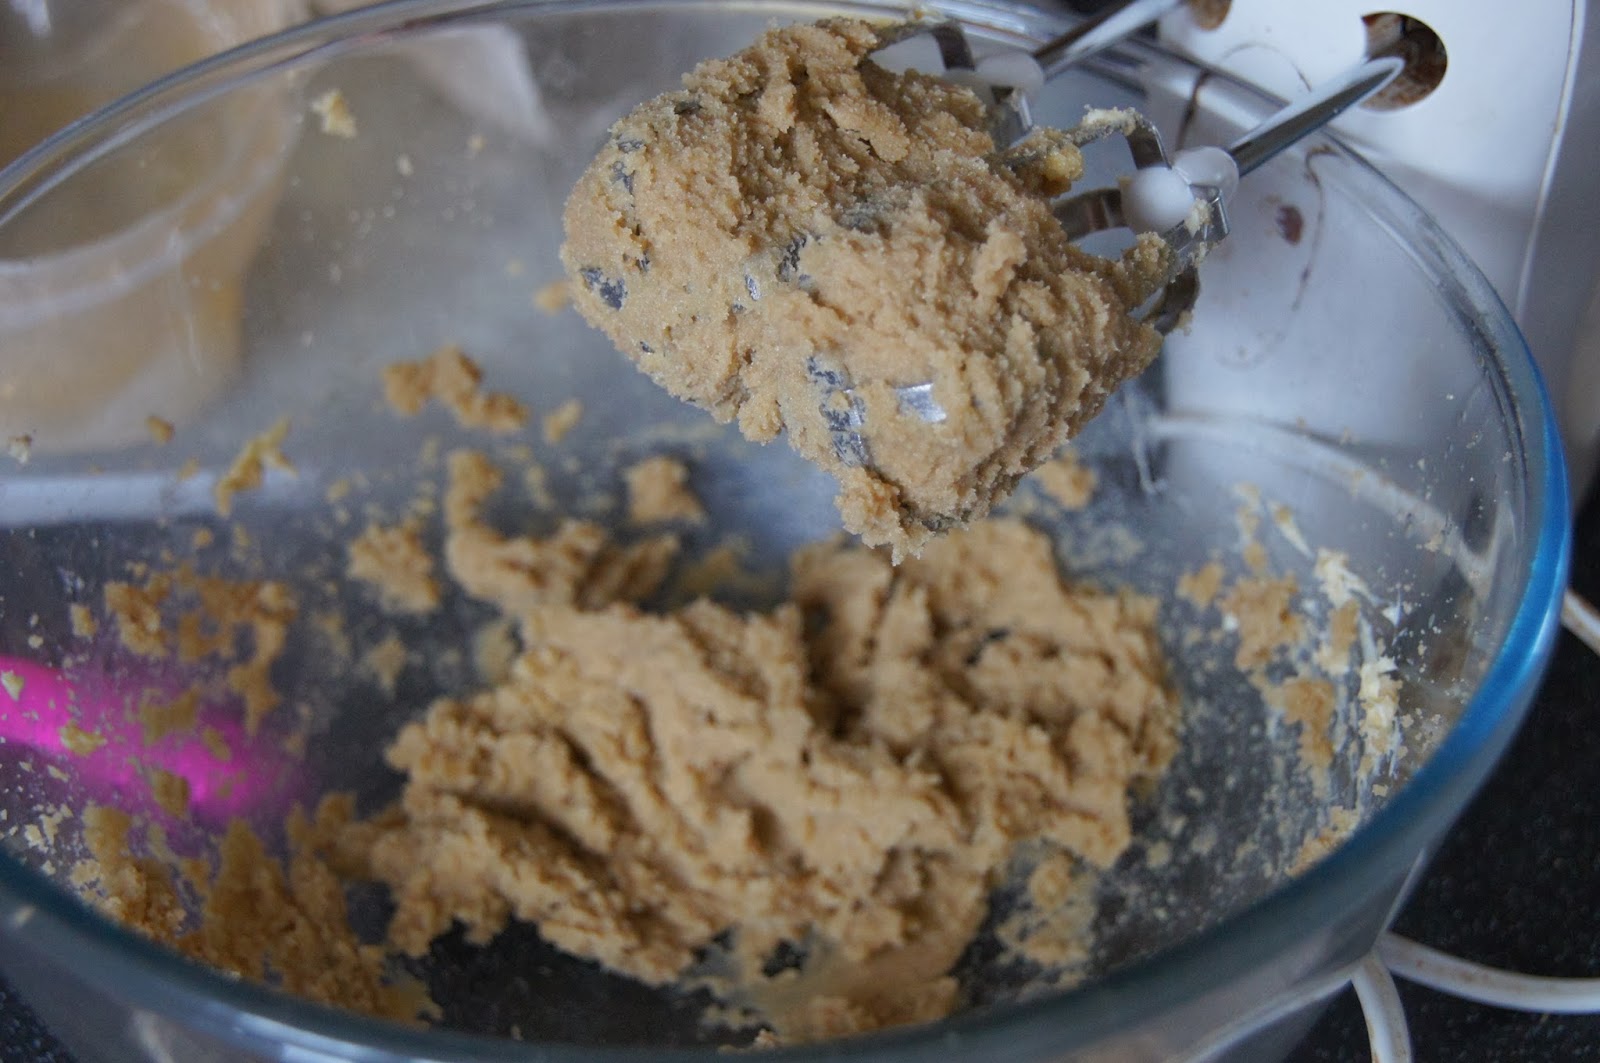
2) Put the butter and sugars in a large bowl and beat until creamy. Beat in the vanilla extract and egg.


3) Sieve the flour, bicarbonate of soda and salt over the mixture and mix in with a wooden spoon. Add the chocolate chips and stir well.


4) Using a teaspoon, place small mounds of the mixture well apart on the baking trays.


5) Bake in the oven for 8-10 minutes until light brown on the edges and still slightly soft in the centre.


6) Leave on the tray for a couple of minutes to firm up and then transfer to a cooling rack.


7) Enjoy! (With a glass of milk or hot drink of your choice!)


Sunday, 9 March 2014

Pear & Toffee Muffins


We had a team night out last night to watch two of our colleagues in a production of 'Acorn Antiques'. We decided to arrive early to allow us to indulge in some tea and cake. Myself and another of my colleagues offered to bake. I had seen this recipe a few weeks ago when I had some pears to use up and decided they would be pretty easy to whip up yesterday when I was short of time.

This is a recipe I found on the BBC Good Food website that you can find here. The recipe makes 12 muffins.

Ingredients:


300g self-raising flour
1 teaspoon baking powder
2 teaspoons ground cinnamon
85g golden caster sugar
250ml milk
2 eggs (beaten)
100g butter (melted)
2 ripe pears (peeled and cut into small chunks)
100g soft toffees (chopped into pieces - I didn't have enough so used some fudge pieces as well)
25g flaked almonds

Method: 
1. Heat your oven to 200C/Fan 180C/Gas 6. Line a 12-hole deep muffin tin with paper cases.
2. Tip the flour, baking powder, cinnamon and pinch of salt into a large bowl, then stir in the sugar.


3. Mix together the milk, eggs and melted butter in a large jug and pour into the dry mix all at once, along with the pears and a third of the toffee pieces. Stir until just combined (your batter should still be lumpy and have some streaks of flour.)


4. Divide the mixture between the cases, then sprinkle with the remaining toffee and flaked almonds.


5. Bake for 25-30 minutes until the muffins are risen, golden and feel firm when pressed (the toffee will be hot so be careful!)


6. Remove from the tin and allow to cool on a wire rack.


Sunday, 23 February 2014

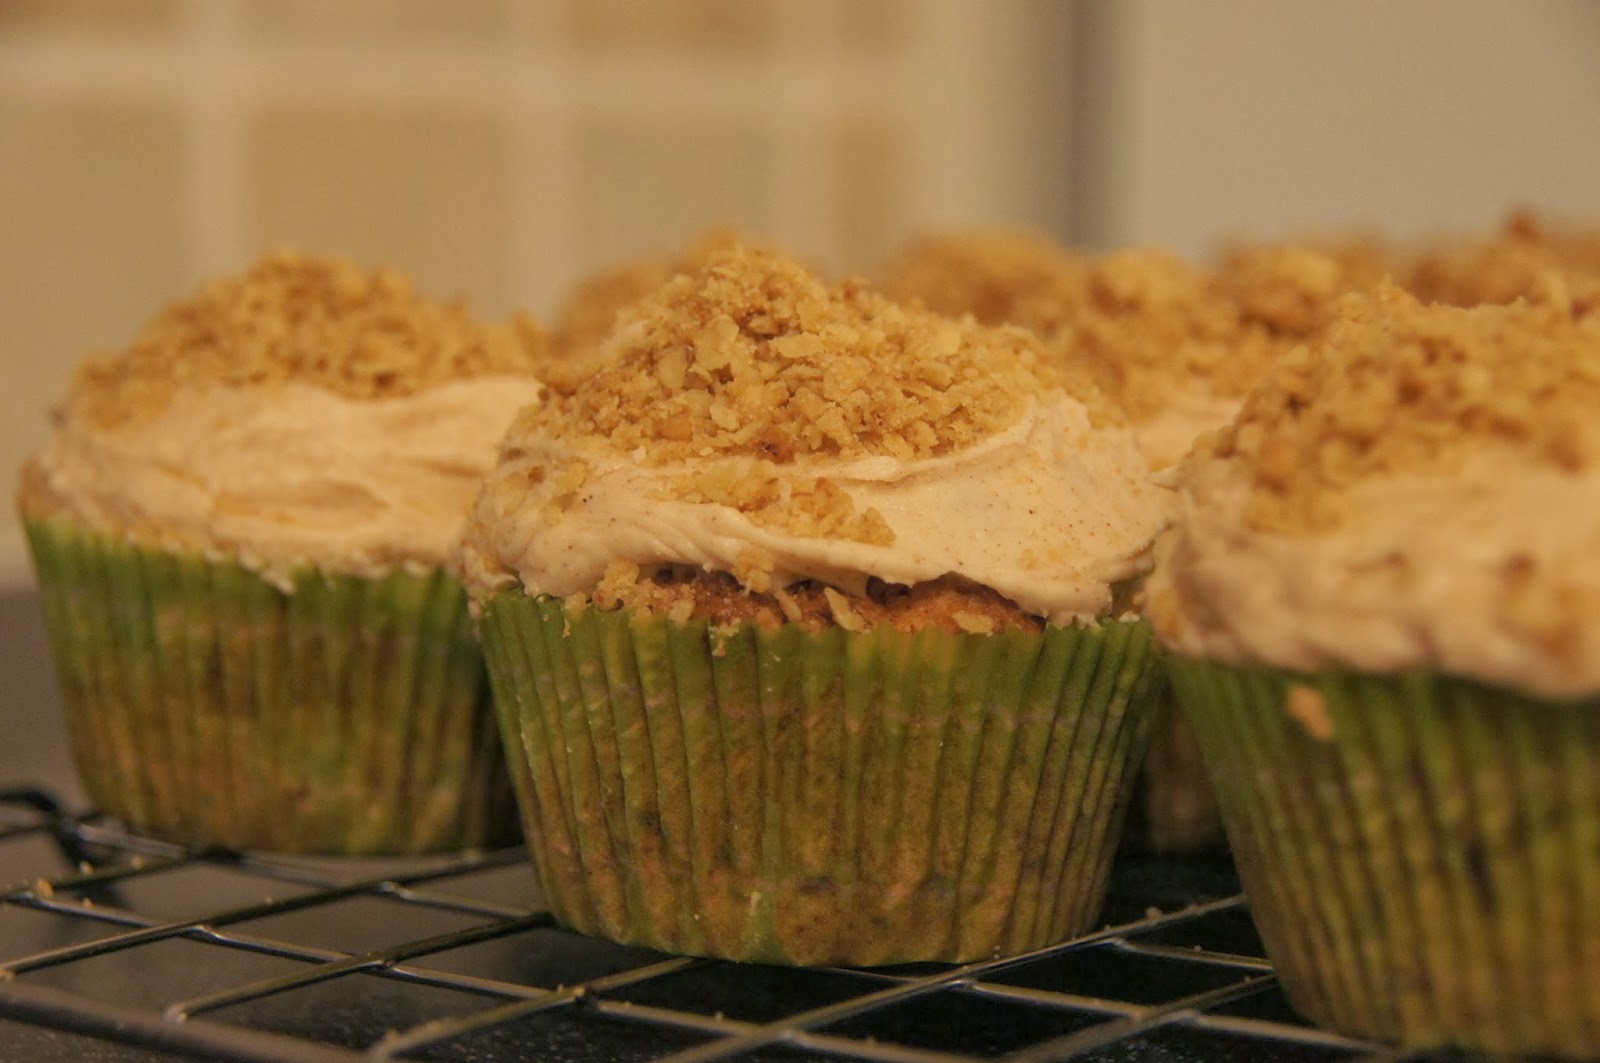
Apple Crumble Cupcakes


It' has been ages since I made cupcakes. I have mentioned before that Mr Birdie likes to joke that cupcakes are all I make - well hopefully this blog has proved him wrong! I made these once before and Mr Birdie declared them 'the best cupcakes I'd ever made'! I decided to make these as I had a couple of Bramley apples that needed using up.

These cupcakes are a combination of recipes - the cupcake recipe is from Eric Lanlard's Cox, Cookies & Cake book and the cream cheese frosting and crumble topping come from the Cup O' Sugar blog. If I had had lots of time I would have filled them with custard as my Dad gave me a cupcake filler gadget for Christmas that I am still waiting to try out but sadly time flew by today. I made 18 cupcakes from the mixture but this will probably depend on how much apple mixture you make.

Ingredients:


For the cupcakes:
2 cooking apples (peeled, cored and chopped - you may want to use 3 to ensure you have enough)
1 teaspoon ground cinnamon
1/2 teaspoon bicarbonate of soda
100g butter (softened)
200g soft brown sugar
2 eggs
350g self-raising flour

For the cream cheese frosting:
4 tablespoons butter (60g)
4 cups icing sugar
1/4 teaspoon vanilla extract
6oz cream cheese (approx. 1 packet)
2 teaspoons ground cinnamon

For the crumble topping:
55g plain flour
55g rolled oats
Pinch of cinnamon
55g butter
40g soft light brown sugar

Method:
1) Preheat your oven to 200C/180C Fan/Gas 6 and line a cupcake tin with paper cases.
2) Put the apples in a saucepan with the cinnamon and cook over a gentle heat until mushy. (This will take a long time - the first time I made these I added some water but didn't this time. You will need to keep stirring it regularly to make sure the mixture doesn't catch on the bottom of the saucepan. The original recipe says to strain the mixture after it's cooked and to then weigh out 250g but I only had 100g without straining it which is why you might want to try 3 apples instead.)


3) In a bowl, mix the bicarbonate of soda into the apples.


4) In a separate large bowl, cream the butter and sugar together. Once these are combined add the eggs.


5) Alternately fold the self-raising flour and apple mixture into the butter mixture and mix well (the mixture will be quite thick - although it may be looser if you use the correct amount of apple.) 


6) Divide between the paper cases and bake for 20-25 minutes until the cupcakes are golden brown and a skewer inserted into the centre of a cupcake comes out clean (mine took 20 minutes.) Leave them to cool in the tins for 5 minutes before transferring to a wire rack to cool completely. 


7) Once the cupcakes have cooled make the cream cheese frosting. Place all the ingredients in a bowl and mix with an electric whisk until well-combined. Frost the cupcakes with a knife (you can alternatively use a frosting bag with a nozzle but I think they look better rustic.)


8) To make the crumble topping mix the flour, oats and cinnamon in a bowl. Then add the butter and rub in using your fingertips until all the ingredients come together in a crumble-like consistency. Then add the sugar making sure it is evenly mixed in.


Spread the crumble mix on a paper-lined baking tray and bake in the oven for about 15 minutes until golden brown. You will need to gently stir the mixture to ensure it browns evenly (I checked mine every 5 minutes and found it needed about 20 minutes.) Once the crumbs are golden, remove from the oven and set aside to cool. 


9) To finish the cupcakes sprinkle the crumble topping onto the cream cheese frosting and enjoy (with cream or custard if you're feeling extra indulgent!)