Monday, 25 November 2013

Toffee Apple Pie


Apologies that it has been quiet on the blog front. Mr Birdie and I jetted of to the west coast of America during half term and then we have been busy catching up with friends and meeting our gorgeous new nephew Elliot (congratulations Ian and Steph!) I plan to do a blog post on our foodie adventures in America and have a couple of recipes to catch up on but for now here is my most recent adventure in baking.

Autumn is in full swing and comforting, warming baking is the order of the day. This recipe for toffee apple pie is from Ruth Clemens of 'The Pink Whisk' which you can find on her blog here. I'd never made an apple pie before and as I think I've mentioned before pastry scares me. This recipe uses flaky pastry which I was surprised to find was actually quite easy (for someone who has a pastry phobia!) I am quite tempted to try it again for some mince pies this Christmas. I was pleased with my first attempt at this recipe however I did find that the toffee sauce separated and a lot of butter was at the bottom of the dish (having read comments on The Pink Whisk website other people have had this problem too). It did meet my husbands approval despite this!

You will need an 8 inch pie dish which was something I didn't possess so this was an excellent opportunity to go shopping. I purchased this lovely teal number in TK Maxx.


Ingredients:


For the pastry
300g plain flour
225g butter
35g caster sugar
6-8 tbsps cold water (I needed 10)

For the filling
475g tart, firm or cooking apples (I used Gala apples as these were cheapest in Aldi!)
150g butter
75g light muscovado sugar

1 egg for egg wash
Caster sugar for sprinkling

Method:
1) Begin by making the toffee sauce as it needs time to cool down. Melt the butter and light muscavado sugar in a pan over a gentle heat. Stir it gently and often until the toffee sauce is smooth and well combined. Remove from the heat and set it to one side.


2) Then start to make the pastry. Measure the flour into a large bowl.


3) Dice the cold butter into small pieces. Use a plate to slice the butter and add a spoonful of the flour for the pastry to it. This will help it to stop sticking.


4) Add the butter to the flour and start to rub it in with your fingertips. Only rub it in half way so that you are left with little lumps of butter.


5) Stir through the caster sugar.


6) Start to add the water, a couple of tablespoons at a time. Mix it together using the blade of a table knife until it just comes together with being crumbly.


7) Lightly knead the pastry in the bowl to form a ball. Then wrap it in cling film or a freezer bag and place it in the fridge to chill for 1 hour.


8) Dust your work surface and your rolling pin lightly with flour. Divide your pastry into two halves.


9) Grease your pie tin. Roll out one portion of the pastry and line the base of the tin. Trim off any excess neatly.

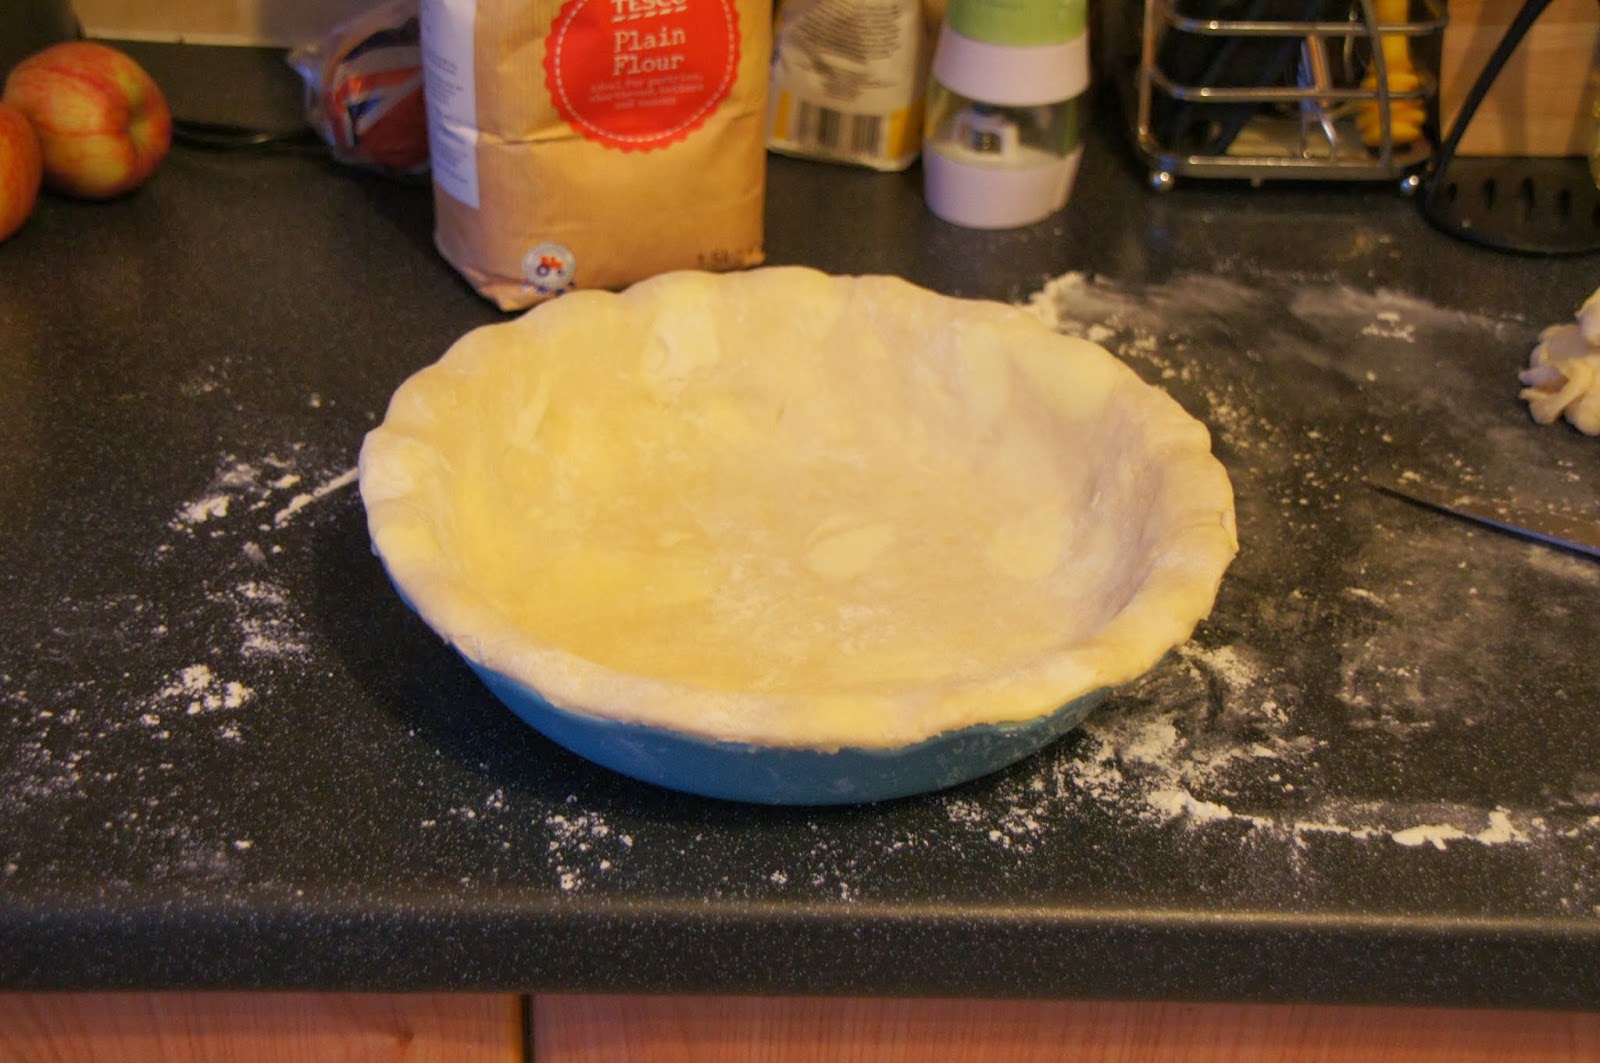

10) Peel, core and slice the apples. Add them to the lined pie dish and pour over the toffee sauce (this is where I started to have some issues as my toffee sauce was starting to solidify and was not really pourable - it didn't really look that appetising as you will see in the photo!) 


11) Roll out the second portion of flaky pastry and lay it over the top. Use a pair of scissors to trim the pastry so that there is 1.5cm extra over the side of the tin. Fold this extra pastry underneath the lip of the base layer and gently press to seal them together. Then chill the pie in the fridge for 30 minutes. 


12) Preheat the oven to 180C(fan)/200C/Gas 6. Crimp the chilled pie crust by gently lifting the pastry lip around the edge and using the thumb and forefinger of your left hand to press the top of the pastry over the forefinger of your right hand to make the fluted shape. Work your way around the pie - alternatively you can use a fork. 


13) Brush the top all over with egg wash and sprinkle with some caster sugar. Cut a couple of slits in the centre of the pie with a sharp knife to allow the steam to escape.


14) Bake for 35 minutes until golden brown.


15) Enjoy with cream, ice cream or custard!


Happy baking! 


Friday, 11 October 2013

Wholewheat Banana Nut Loaf


It has been a busy few weeks in the Little Birdie household. We moved three weeks ago and have been without the Internet until today. Upon moving in, we found the oven in our new house was possibly the worst oven in existence! A horrible, electric thing which took forever to cook anything and if it was cooked the bottom was burnt. Luckily Mr Birdie managed to find us a shiny new one for £50 (thanks to the wonders of Ebay!) My Dad visited us last weekend to help us tackle the garden (thanks Dad!) so I whipped up a banoffee pie last weekend but this cake is the first proper cake I have made in our new home. Hopefully many more baking adventures will follow.

I used to make this cake a lot a few years ago as it is super easy to make and a great way to use up ripe bananas. It doesn't look that amazing from the outside but it's what inside that counts. It is always well received (as proved today by the speed at which is disappeared in the staffroom at school) and it has never failed to produce a moist, banana-ery loaf that surely must be good for you as it contains fruit, nuts and wholemeal flour! The recipe is from Best Ever Baking by Carole Clements.

Ingredients:


115g butter (at room temperature)
115g caster sugar
2 eggs (at room temperature)
115g plain flour
1tsp bicarbonate of soda
1/4 tsp salt
1 tsp cinnamon
55g wholemeal flour
3 large ripe bananas
1tsp vanilla extract
55g walnuts (chopped)

Method:
1) Preheat your oven to 180C/350F/Gas 4. Line a 9 x 5 in loaf tin with greaseproof paper.
2) With an electric mixer, cream the butter and sugar together until light and fluffy.


3) Add the eggs, one at a time, beating well after each addition.


4) Sift the plain flour, bicarbonate of soda, salt and cinnamon over the butter mixture and stir to blend.


5) Stir in the wholemeal flour.


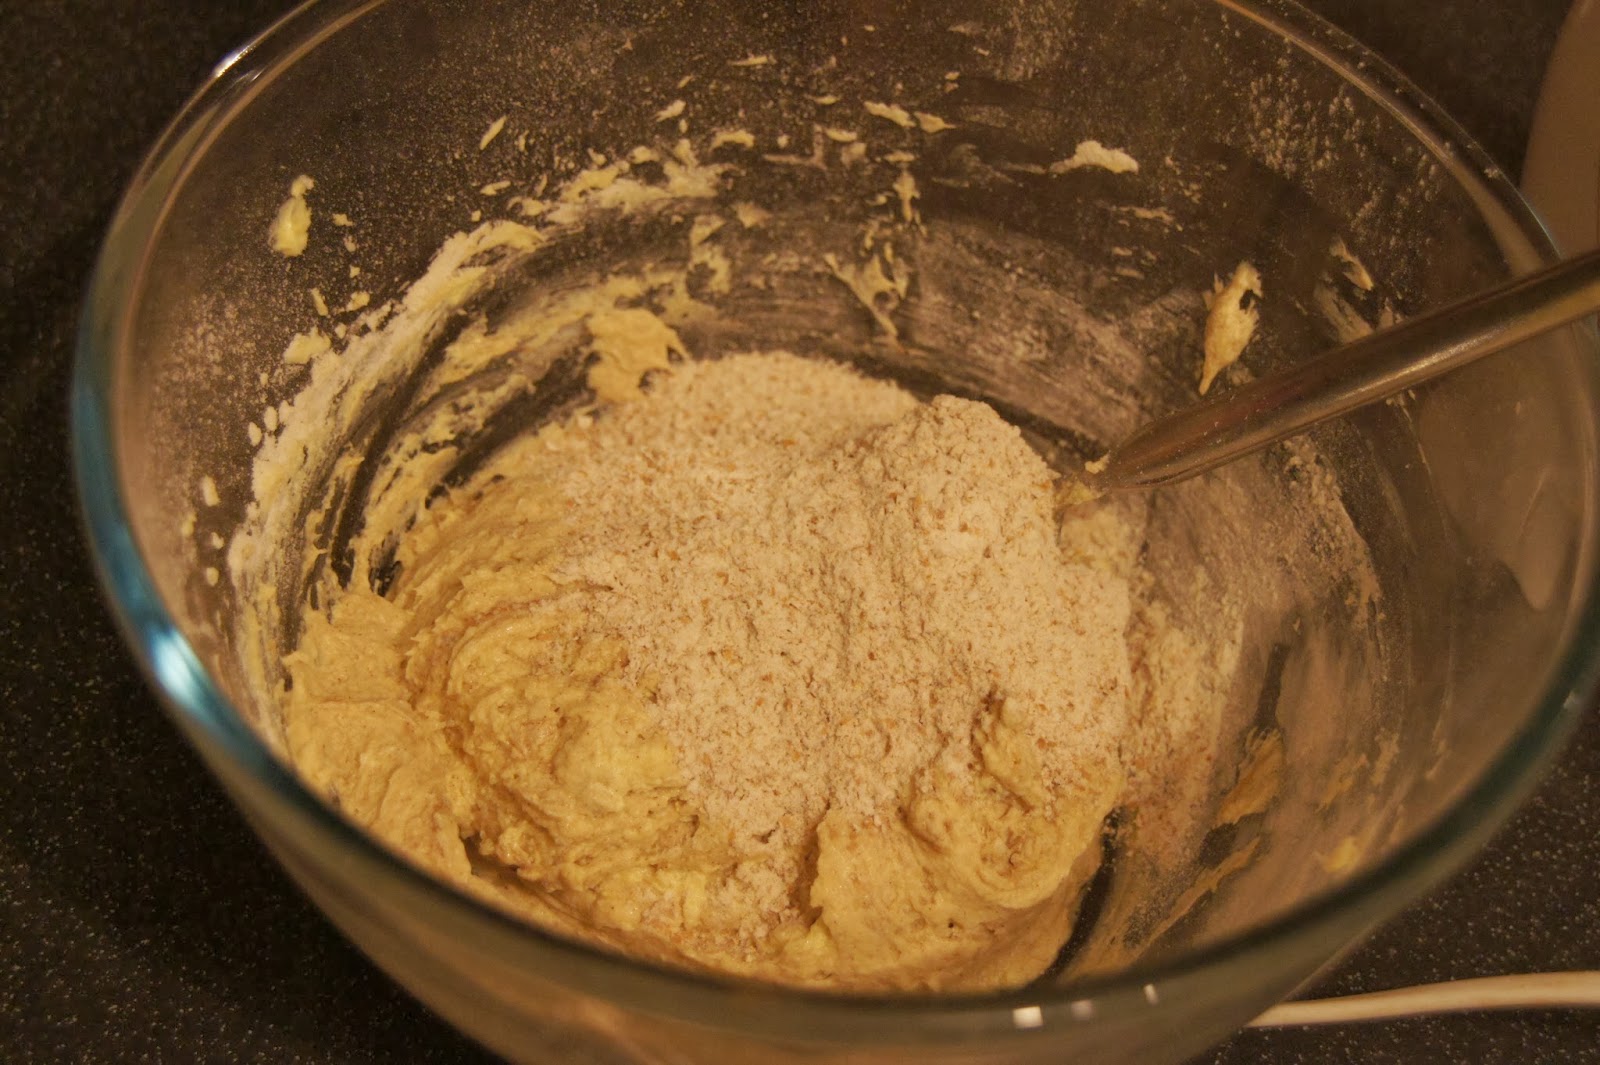
6) With a fork, mash the banana to a purée, then stir into the mixture. Stir in the vanilla and nuts.


7) Pour the mixture into the prepared tin and spread level.


8) Bake until a skewer inserted in the centre comes out clean (50-60 minutes). Let the cake stand for 10 minutes before transferring to a rack.

Happy baking!
Dil :-)


Tuesday, 17 September 2013

Blackberry and apple crumble


Autumn has well and truly arrived. The weather on Sunday was horrible and it was decided in the Little Birdie household that it was most definitely crumble weather.

It was a proud day as it was the first time we picked apples from our apple tree to use in the crumble. It has been in the garden for just over a year and was only a cheap tree from Aldi so we have been impressed that anything has grown. The blackberries were also freshly picked from just behind our house so the filling came from less than 20 metres from our kitchen - an impressive feat!  We are disappointed that we will have to leave it when we move house this week.


This is a Jamie Oliver recipe from his 'The Naked Chef' book. It is my go to crumble recipe that always goes down well. You can use any fruit or combination of fruit that you want. Apples, pears, berries, plums, peaches, rhubarb - the possibilities are endless. 

Ingredients:


Crumble
225g plain flour
115g butter
90g sugar
pinch of salt ( I quite often forget this!)

Fruit
455g fruit (washed and prepared)
3 tablespoons sugar

Method:
1) Preheat your oven to 200C/400F/Gas 6. Put the crumble ingredients in a food processor or mixer and blitz until it resembles fine breadcrumbs (You can do this by hand - just rub the mixture between your hands). 


2) Put the fruit into a shallow ovenproof dish and sprinkle with sugar. 


3) Spread the crumble mixture over the prepared fruit and give the dish a shake. 


4) Bake in the oven for about half an hour or until the top is evenly golden. (If it starts to go darker around the edge, turn the oven down a little.


5) Enjoy! (With cream, custard or ice cream - mmmm!) 


Sunday, 8 September 2013

Mixed Berry Plaited Pie


I will start today's post with a confession. I am a hoarder. I find it difficult to throw things away. In the process of moving I have had to address this (well I like to think I have addressed it!) Whilst packing I have had to sort through many food magazines. At various points over the last few years I have had subscriptions to Delicious, Good Food and Olive and had kept them all. My husband was not going to let me pack up and move boxes of magazines but I didn't want to throw them away. The solution to my reluctance to throw these away - to rip out all the recipes I liked the look of or thought I might like to make one day in the future. I now have a lever arch folder fit to burst with recipes. It was when I was ripping and filing that I spotted this recipe. I am a bit obsessed with blackberry recipes at the moment and this not only contained blackberries but also looked pretty impressive.

This is an Olive recipe that you can find on the BBC Good Food website here. It is a cross between a pie (it has a pastry base and pastry twists on top) and a cake. It is very easy to prepare as you make both the base and filling in a food processor (I didn't even bother washing it out!)

Ingredients:


100g butter (softened)
2 tablespoons golden caster sugar (plus extra for dusting)
200g plain flour
1 egg (beaten)
1 x 375g pack ready-rolled shortcrust pastry
plain flour (for dusting)

Filling:
150g butter (softened)
150g golden caster sugar
50g ground almonds
3 eggs
150g self-raising flour
250g mixed berries (I used raspberries, blueberries and blackberries)

Method:
1) Heat the oven to 180C/Fan 160C/Gas 4 and line the base of a brownie tin approximately 20cm x 30cm (I used a roasting tin slightly larger than this and it was fine). In a food processor whizz together the butter, sugar and flour until it resembles fine breadcrumbs.


Add the egg and whizz until it looks like coarse breadcrumbs.


Tip into the tin and press firmly to make an even layer (I struggled at this point - so much so my husband said I would never survive on the Great British Bake Off! It was difficult to press the pastry so I had to take the paper out of the tin and roll the pastry using a rolling pin to roughly the right size before putting the paper back in the tin.)


Chill the pastry base while you make the filling.
2)  Whizz the butter and sugar in a food processor until combined.


Add the ground almonds, eggs and flour until smooth. Pour over the base and spread with the back of a spoon.
3) Scatter over the mixed berries to cover the top.


4) On a lightly dusted surface unroll the pastry and cut into 18 lengths (short strips rather than long).


Arrange half, spaced out on top of the fruit, twisting each strand on the diagonal. Then repeat with the remaining lengths but in the opposite direction. Trim the overhanging pastry. Sprinkle with extra sugar, about 2 tablespoons.


5) Bake for 40 minutes until light golden. Cool a little before removing from the tin. Serve warm.


Saturday, 31 August 2013

White chocolate and raspberry melting cake

This cake was meant to be an entry for a John Whaite Book Club competition (and also dessert for a gathering with some of my teacher friends) but as you will discover if you read on, it ended up in no fit state to be photographed...

There were many lessons I learnt when making this cake...
1) Always use the correct size cake tins - if it says 20cm it means 20cm! Sadly I don't own any 20cm tins. I own 18.5cm tins and 23cm tins. I opted for the 23cm tins thinking this would be better but sadly not! I ended up with large almost flat sponges.
2) Check your self-raising flour is in date Mine was best before June which I think may have contributed towards my flat sponges.
3) If it says the ganache filling will take a long time to thicken it means it will take a long time to thicken.
4) If your judgement is telling you not to try to assemble the cake don't do it! I thought about taking the sponges and ganache separately and assembling it when needed but stupidly thought it would be ok. It wasn't - the ganache wasn't thick enough and spilled out everywhere. The cake started to slip and slide around in my car and due to some unexpected breaking ended up in pieces. It was essentially a cake jigsaw puzzle that I had to arrange into something resembling a cake when I arrived at my friends house. Luckily I have some lovely friends who said it still looked delicious :-)

I wasn't going to post this but actually it was a big hit and when it was sliced into pieces it didn't actually look too bad (if you looked at it in a creative way!) and a blog post was requested by my friends. Sadly I only had my phone with me so the pictures of the end result aren't great. If you are brave enough to attempt this (and not as silly as me and don't make the same mistakes I did) you can find the recipe here on John Whaite's Facebook page.

Ingredients


For the sponge
200g unsalted butter (At room temperature, cut into cubes)
100g white chocolate (Broken into pieces)
4 eggs
200g caster sugar
200g self-raising flour
175g fresh raspberries
Icing sugar (For dusting)

For the ganache filling 
200g white chocolate (Broken into pieces)
250ml double cream

Method
1) Preheat the oven to 180C/Gas 4. Grease and base-line two 20cm (8in) round loose-bottomed cake tins.
2) Put the butter and chocolate in a large heatproof mixing bowl above a pan of barely simemring water and allow them to melt and meld together slowly, stirring occasionally. Remove from the heat and set aside to cool for a minute or so (the mixture will look a bit strange as the second photo shows but don't worry).


3) When the melted butter and chocolate have cooled, add the eggs and sugar and beat with an electric mixer until you have a smooth and consistent batter (This takes a minute or two. To begin with you will think it is never going to create a smooth batter but have faith - it will come together!) Sift the flour over the bowl and fold that in, along with the fresh raspberries.


4) Gently pour into the prepared cake tins, dividing equally between them.
5) Bake for 20-25 minutes (or until golden brown and a skewer inserted into the centre comes out clean). Remember to switch the tins halfway through baking if you are not baking them on the same shelf. Allow to cool completely.


6) To make the ganache, put the chocolate into a heatproof bowl with 100ml of the cream. Set over a pan of barely simmering water and stir until the chocolate has melted into the cream and you are left with a smooth, glossy ganache. Leave to cool to room temperature, then beat in the rest of the cream. It takes a long time for the ganache to cool and thicken, so you will need to be patient! (Something like several hours...)


7) When the cakes have cooled, sandwich them together - the lower one base-side down, the upper one inverted, so that you have a smooth top and bottom - with the white chocolate ganache. Dust with icing sugar, just before serving. 


Happy baking (and good luck!)


Friday, 30 August 2013

Double Chocolate Shortbreads


Now these are supposedly meant to be shortbreads...however I would disagree. The texture is more of a crumbly biscuit rather than a buttery, moreish shortbread. They are perfectly tasty (although perhaps lacking in depth of flavour) and the perfect accompaniment to a cup of coffee while catching up with a friend (as I discovered today when I managed to scoff three of them - oops!) but do not embark upon making them thinking that you will create traditional shortbread.

I made these as I was visiting one of my friends who is allergic to egg - shortbread seemed to be the perfect option. I considered lemon, chocolate chip and espresso choc chip but found this BBC Good Food recipe which seemed easy enough to whip up quickly this morning. I managed to make 20 biscuits from the mixture.

Ingredients


175g butter (softened)
85g golden caster sugar
200g plain flour
2 tablespoons cocoa powder
100g chocolate chips (milk or dark - I used 100g of dark chocolate that I chopped into small bits)

Method
1) Mix the butter and sugar together with a wooden spoon. Stir in the flour and cocoa, followed by the chocolate chips (you might need to mix it together with your hands at this stage - I didn't).


2) Halve the dough and roll each piece into a log about 5cm thick. Wrap in cling film and chill for 1 hour or for several days (It can be frozen for up to 1 month).


3) Heat the oven to 180C/160C/Gas 4. Slice the logs into 1cm-thick rounds, transfer to a baking tray lined with baking parchment and bake for 10-12 minutes. Cool on the tray.


Happy baking!