Sunday 23 June 2013

Rocky Road


As a teacher the summer term is normally my favourite time of year. Sunshine, sports days, less stress, the count down to the summer holidays. Unfortunately it's not quite working out like that at the moment. It's been a busy few weeks so I thought I whip up a batch of rocky road to keep us all going. I also made some banana muffins but these were an EPIC failure (both in looks and taste) so I'm not even going to post them (yes, they really were that bad!)

My introduction to rocky road came about 6 years ago when I used to work with a teacher who made THE most amazing cakes. She would make a batch of rocky road which she'd bring in and they would be gone in minutes. We were pretty much obsessed with them in the staff room and they were always requested. This was my first attempt and I think future attempts will need a little refining. The beauty of it is that it requires no baking. When you look at recipes on the Internet you will find all sorts of different versions with different ingredients. The combinations and possibilities are endless. Do you go for rich tea biscuits or digestives? Milk chocolate, dark chocolate or both? Fruit or no fruit? Nuts or no nuts? I opted for a simple Nigella recipe from the BBC website that you can find here. There is also a Christmas version as well. I decided to add some glace cherries as I had some that needed using up - Mr Birdie was not keen on these and has advised me that in future raisins would be a better addition (this has been noted!)

Ingredients:


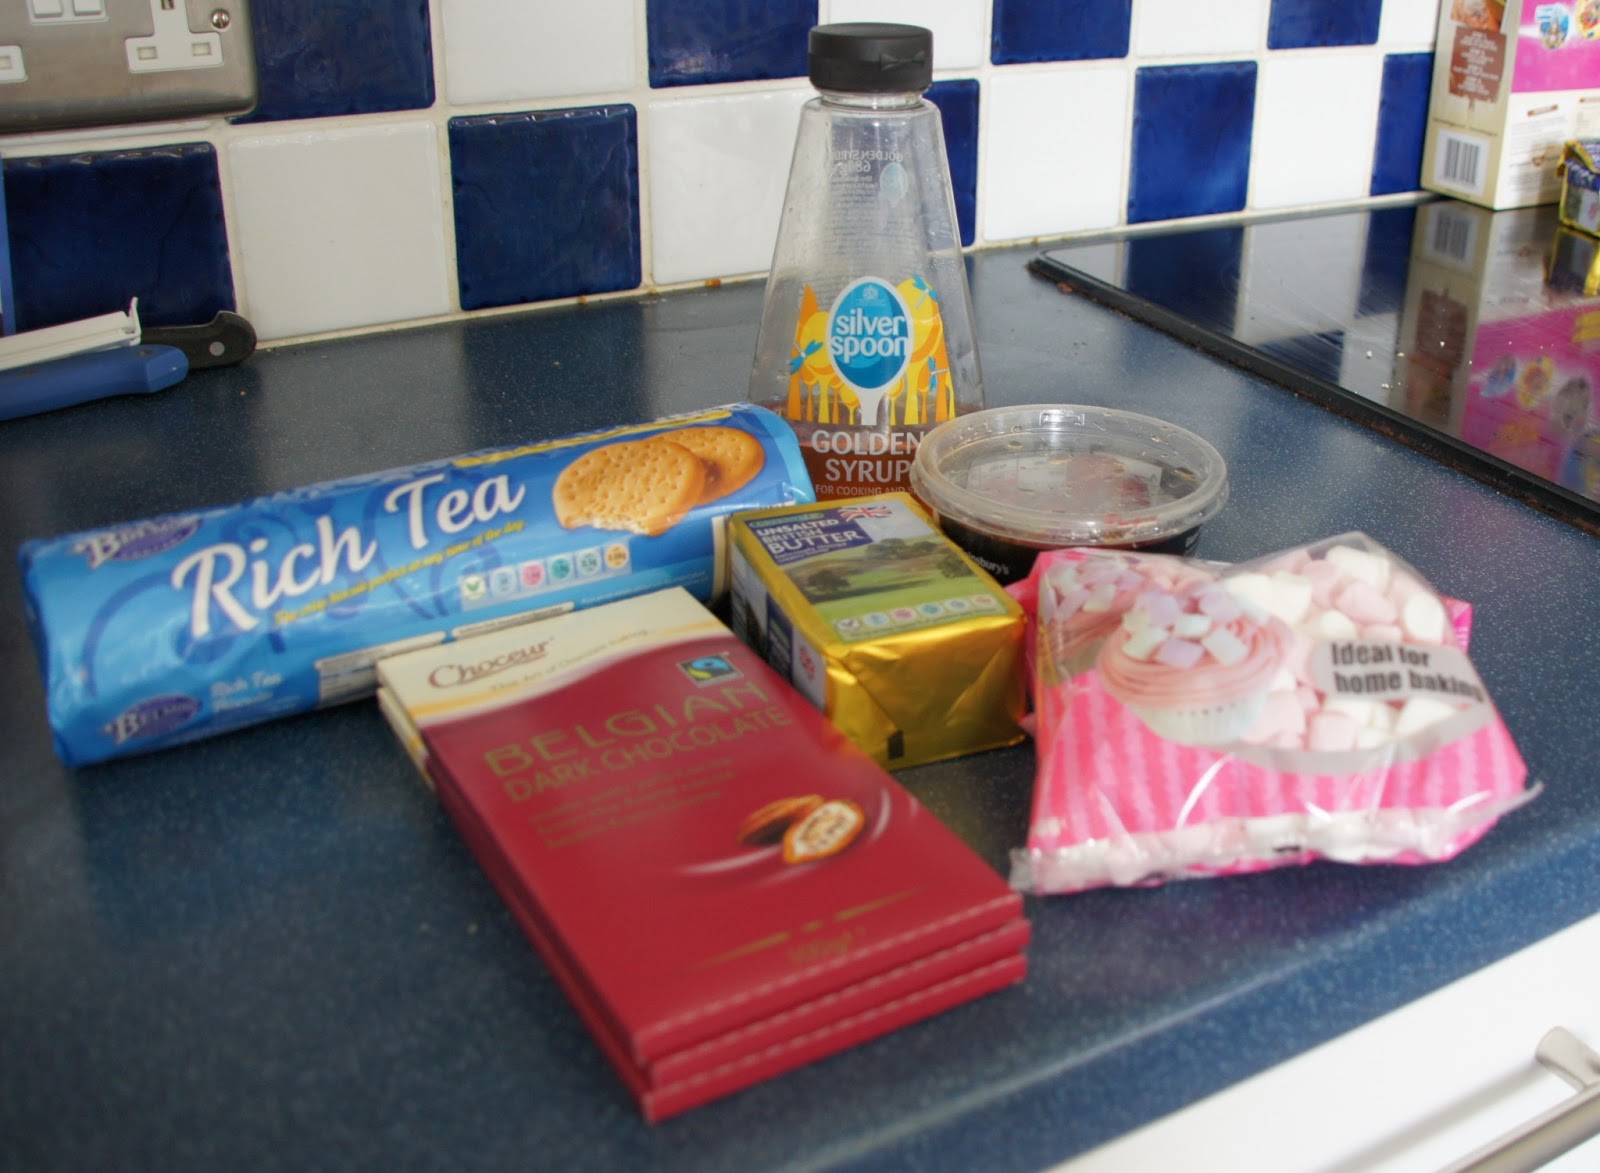
125g unsalted soft butter
300g dark chocolate, broken into pieces
3 tbsp golden syrup
200g rich tea biscuits
100g mini marshmallows
150g glace cherries (optional extra)
2 tsp icing sugar, to dust

Method:
1) Heat the butter, chocolate and golden syrup in a heavy-based saucepan over a gentle heat.


Once melted, remove from the heat, scoop out about 125ml of the melted mixture and set aside in a bowl/jug.
2) Place the biscuits into a freezer bag and crush them with a rolling pin until some have turned to crumbs but there are still some pieces of biscuits remaining (this can be very therapeutic!)
3) Fold the biscuit pieces and crumbs into the melted chocolate mixture in the saucepan, then add the marshmallows and the cherries.


4) Tip the mixture into a 24cm/9in square baking tin and smooth the top with a wet spatula.


5) Pour over the reserved 125ml of the melted chocolate mixture and smooth again.


6) Refrigerate for about two hours or overnight.
7) To serve, cut into 24 gingers and dust with icing sugar and enjoy!


Sunday 16 June 2013

Father's Day Cheesecake - Baked Rhubarb Cheesecake

Apologies that it has been a little quiet on the blog - I didn't realise it was over a month since I had last posted. Our weekends have been hectic due to concerts, babysitting, barbecues and tidying and packing for our forthcoming house move (fingers crossed).

Today is Father's Day so happy Father's Day to any dads reading the blog - I hope you are enjoying your day. My Dad is coming to visit so it was desert making time yesterday. My Dad is a big fan of cheesecake so I decided this was the obvious choice. I am big fan of rhubarb (which is currently 69p in Aldi as part of their 'Super Six' offer - bargain!) and picked some up during our weekly shop and decided it was time to combine the two. I did consider trifle but I don't have a trifle bowl. I originally found a Delicious Magazine recipe for a baked rhubarb and orange cheesecake which looked good but served 12-16 and required 900g of cream-cheese which seemed a little extravagant for just three people! I found a recipe on the BBC website for a baked rhubarb and ginger cheesecake that served 8 and seemed a little less extravagant. You can find the recipe here although as you will see I'm not sure this is necessarily a recipe I would recommend!

Ingredients:


1.5 kg rhubarb, trimmed
175g caster sugar
300g stem ginger biscuits (I used ordinary ginger biscuits)
115g unsalted butter, melted
450g full-fat cream cheese
2 lemons, zest only
300ml soured cream
6 eggs separated
1 tbsp icing sugar

Method:
1) Preheat the oven to 200C/400F/Gas 6. Grease and line and 25cm/10in loose-bottomed cake tin.
2) Cut two thirds (1kg) of the rhubarb into pieces about 5cm/2in long, place in an ovenproof dish and sprinkle with 55g of the caster sugar. Roast in the oven for 20 minutes or until tender.


3) Meanwhile, cut the remaining rhubarb into pieces about 7.5cm/3in long, place in another ovenproof dish with a tablespoon of the caster sugar and roast until just tender but still holding their shape. Set aside to decorate the cheesecake.


4) To make the biscuit base, place the biscuits in a plastic bag and crush with a rolling pin leaving the mixture quite rough. Place the biscuit crumbs in a bowl, mix in the melted butter and press into the bottom of your prepared cake tin. Place in the fridge while you make the cheesecake mixture (I forgot to do this - oops!)


5) Beat the cream cheese with the remaining 125g caster sugar and the lemon zest, then add the soured cream and egg yolks and beat until smooth.

6) Spread the rhubarb onto the chilled biscuit base (if you've remembered to chill it!) Whisk the egg whites until they hold soft peaks then fold into the cheese mixture and pour on top of the rhubarb. My rhubarb after it baked was quite watery. In hindsight I think I would have benefited from trying to drain some of the liquid away as the base of the cheesecake was very watery and leaked during baking and afterwards. I also didn't use all the rhubarb as otherwise the tin would have been half full before add the mixture. 


7) Bake in the oven for about one hour, reducing the heat to 180C/350F/Gas 4 once the cheesecake has risen. The top should be firm to the touch but still slightly wobbly. Leave the cheesecake to cool then remove it from the tin. The baking is where it all went wrong. It dramatically rose (it resembled more of a souffle than a cheesecake) and formed a not so nice layer/crust on the top. It did sink as it cooled down but the texture was not nice (Mr Birdie called it a rhubarb omelette rather than a cheesecake!) After it came out of the tin it looked hideous so that's why there are no photos of the whole thing - it really did look disastrous. I decided to leave it in the fridge overnight to see what state it was in the next day.
8) Arrange the reserved rhubarb on top and dust with the icing sugar.


As you can see it wasn't too bad in the end - I managed to salvage three slices for lunch today. I think if I try a rhubarb cheesecake again I will investigate one that mixes the fruit with the cheese.

Happy baking (and Father's Day!)
Dil :-)